CREATE A NEW GAME
When you open the SHMUP Creator, it will open the last edited level. For this tutorial, we will create a small game from start to finish.
First, we’ll create a new game:
- Click on the
 Game manager icon on the left of the toolbar to open the Game manager.
 - Click on the
 New game icon to open the New game window.
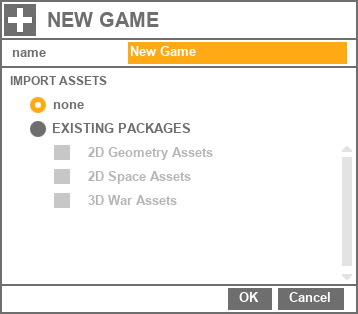
It’s time to choose a name for your game: let’s try “Super Shmup”.
For this tutorial, we will import assets from an Asset library: Select the “2D space assets” and click on OK.
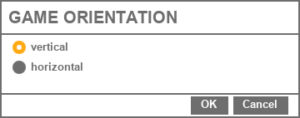
- A new window appears and asks you to choose the orientation of your game. For this tutorial, let’s choose Horizontal, and press OK.
The new game is now in the game list and already selected.
Click on the Load button to edit this game.
CREATE A LEVEL
You are now in the Level Manager, which lists all the levels of your game. Right now, the list is empty.
- Click on the
 New level button to open the New level window, and choose a name for your level. Let’s name it “Level 1”, and click OK.
The new level is now in the list and selected. - Click on Load to load and edit your first level.
You are now in the SHMUP Creator editor.
THE PLAYER
The player is on the left of the screen and already selected. You can see at the right of the screen the player properties.
We will choose another image for the player:
- In the first
 tab of the player properties, click on the
  choose icon in the player settings to open the Player Box
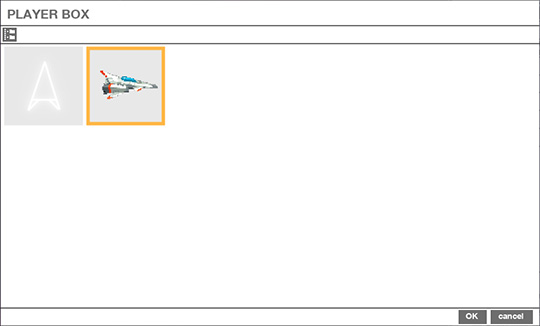
 - Click on the ship on the right to select it, and click on OK. The player is now a real 2D spaceship!
Let’s try your game:
Press the ![]() Play icon in the toolbar to start the game: you can move your ship with a gamepad or the keyboard (WASD to move the ship, Z to shoot by default.).
Play icon in the toolbar to start the game: you can move your ship with a gamepad or the keyboard (WASD to move the ship, Z to shoot by default.).
Click on the ![]() Play icon again to stop the game (or press the space bar).
Play icon again to stop the game (or press the space bar).
The player moves a little bit too fast:
Select the player, go in the first tab (![]() Settings) and modify the Speed to 60.
Settings) and modify the Speed to 60.
Try again the game (this time, try the space bar to start it): that’s better!
BACKGROUNDS
We are going to add some backgrounds elements.
But first, we are going to set up the grid to help us design our level:
- Click on the
 Preferences button, go to the Grid and Snap tab, and click on the
  Show grid checkbox (you can also press G to enable or disable the grid)
 - Choose 64 for the Grid spacing, then click OK
- Also click on the top toolbar
 Snap objects to the grid icon to enable the snap to grid feature.
On the left part of the screen is the Game box. Just move the mouse to the left, and it will open. This is where all the game assets are stored (except for the players).
- To open the Game box: move the mouse to the left border of the screen
- Click on the Backgrounds tab
- Hover on the background objects until you see the name “2D_WB_block01“, then click
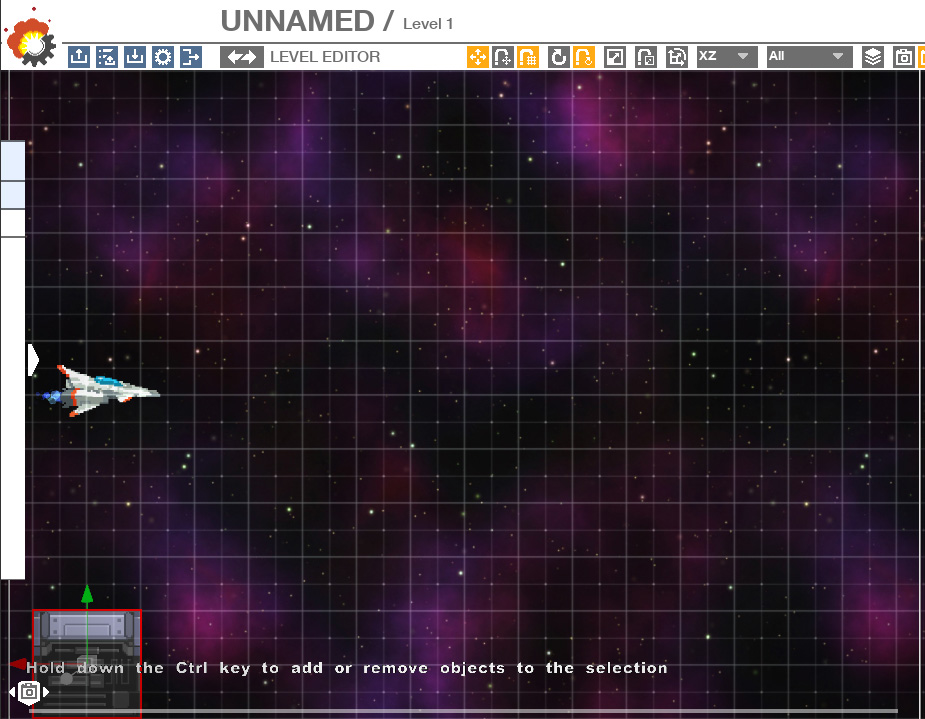
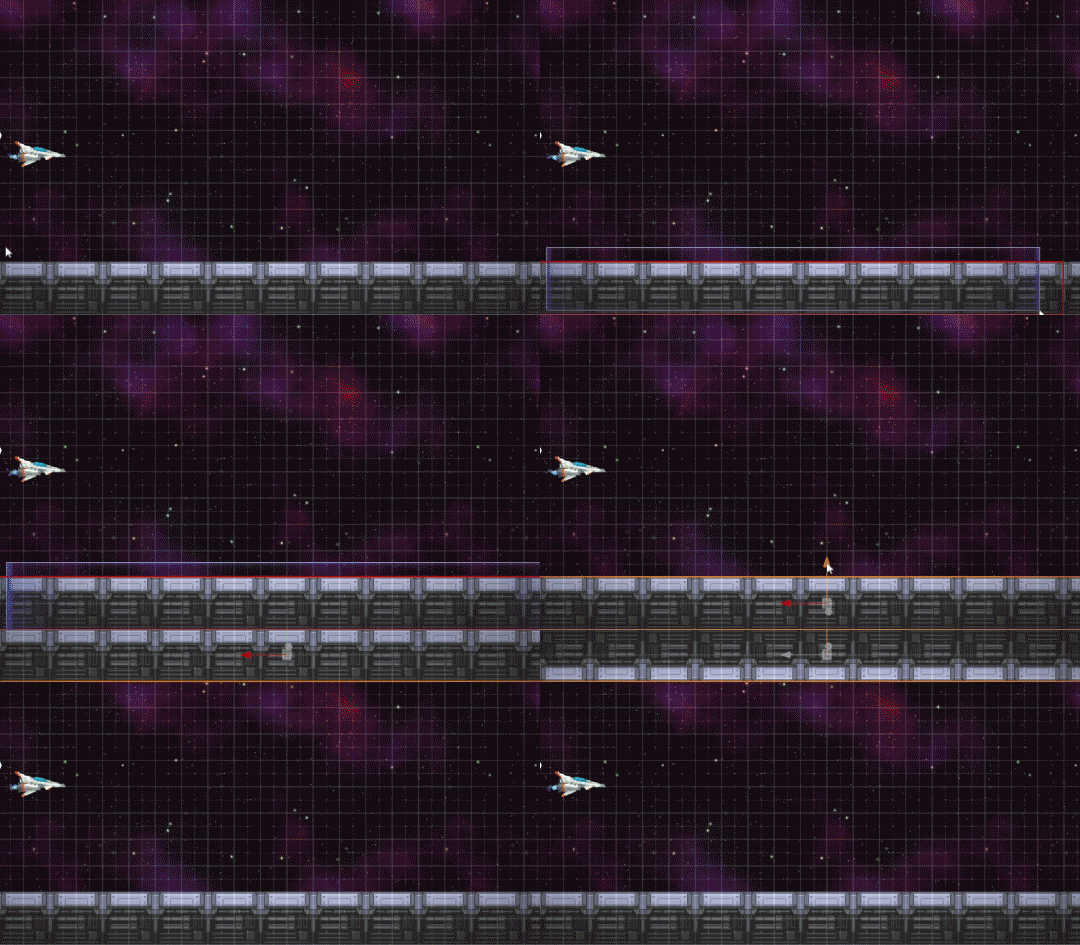
- Move your mouse until the block is on the bottom left and snapped to the grid lines (like in the above screenshot), then click again to add it to your level
We will duplicate these elements to make a bottom wall:
- Keep the left Shift key pressed, then click and drag to the right the background element you just placed. When it’s on the right of the previous background, release the mouse, then the Shift key: the element is duplicated.
- Keep doing this until there are backgrounds elements going to the right, forming a bottom wall (you can keep the Shift key pressed, and just drag and drop each element):

We are going to create quickly the top wall:
- Select all the bottom backgrounds: you can either keep the left Ctrl key pressed then click on all elements to add them one by one to the selection
- Or you can use a rectangle selection: click in the empty space on the top of the first element, keep the mouse button pressed, then drag the mouse to the right bottom of the screen to select all the elements (their outline should turn red)
.when all the background elements are selected, duplicate them to the top of the screen: keep the left Shift key pressed, then click on the green arrow, keep pressing and move the mouse to the top of the screen. Release the mouse when the selection is on top of the screen and snap to the grid.
(Clicking on the green arrow constraints the move to this axis) - You can rotate all the blocks quickly: press ctrl and R, then do it again to rotate the selection 180 degrees:
PLACE ENEMIES AND MAKE THEM MOVE
Let’s add an enemy:
- Open the Game box, and look for the enemy called 2D_WB_enemy03 (the yellow one). Click on the enemy, move the mouse where you want to place it (try on the right top corner of the screen), and click again to validate its position.
We will make the enemy move:
- Make sure that the enemy is selected, then click on the
 Waypoint icon in the property panel on the right to choose the Waypoints tab.
Waypoints are points that define a path: the enemy will follow this path, and can do actions at each point.
Let’s make a path:
- Click on the
 icon in the waypoint tab to choose the New waypoint tool. Move the mouse in the level view and notice the small + arrow.
 - Click on the screen where you want to add a waypoint: each time you do, you can see the path getting longer. You can select a waypoint on the screen and move it, and if a waypoint is selected and you create a new one, it will be inserted after the one selected.
- Create a few waypoints, like in the above picture, and either click again on the
 icon to stop the New waypoint tool, or right-click (or press Esc!).
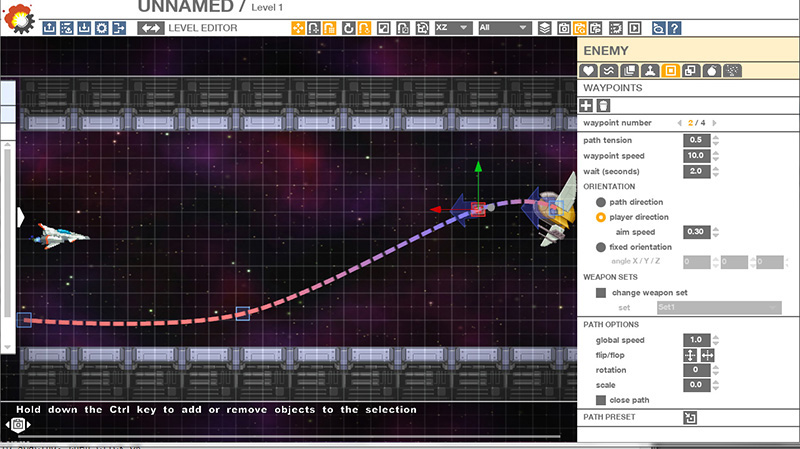
- Select the second waypoint, like in the above screenshot (the 1st one is in the enemy center), and type 2 in the wait numeric field.
- Click on the
 player direction radio button
The enemy will move to this waypoint, then wait 2 seconds and aim to the player, then move again to the other waypoints following the path.
If you want, you can also choose a different speed for each waypoint to make the enemy accelerate or decelerate.
ADD TURRETS
You can navigate the level with the Mouse wheel, or with the Scroll bar at the window bottom. When you’ll press Tab, the level will start at the current scrolling position. If you want to start from the beginning, drag the scroll bar to the left.
We will add 2 turrets:
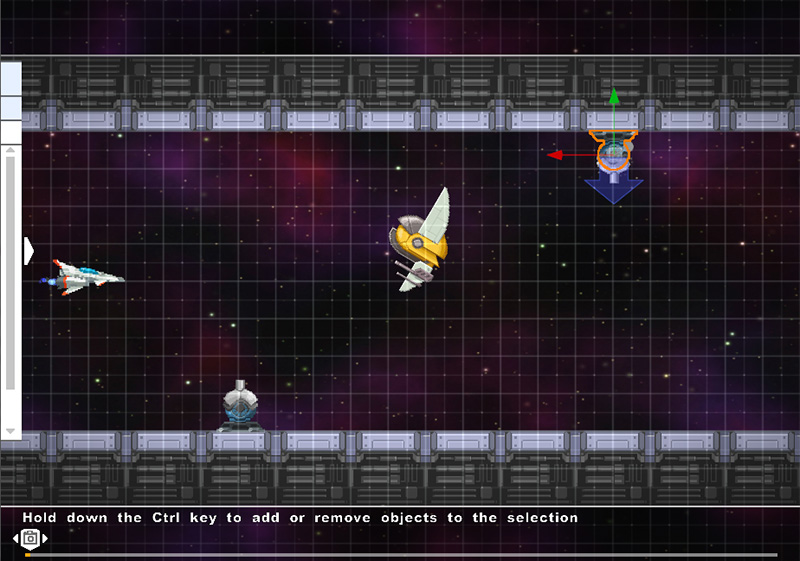
- Like before, open the Game box, then click on the 2D_WB_turret enemy and place it in your level.
- Change the turret orientation: click on the
 top arrow to orient it to the top
 - You can duplicate the turret (shift + click and drag) and rotate it to the bottom with the bottom arrow, then place it on the top wall
At the end, the level should look like this:
TEST YOUR LEVEL!
You can do it like before (pressing spacebar, or clicking on Play), which is a good way to debug your game because all the icons, paths and information are still displayed.
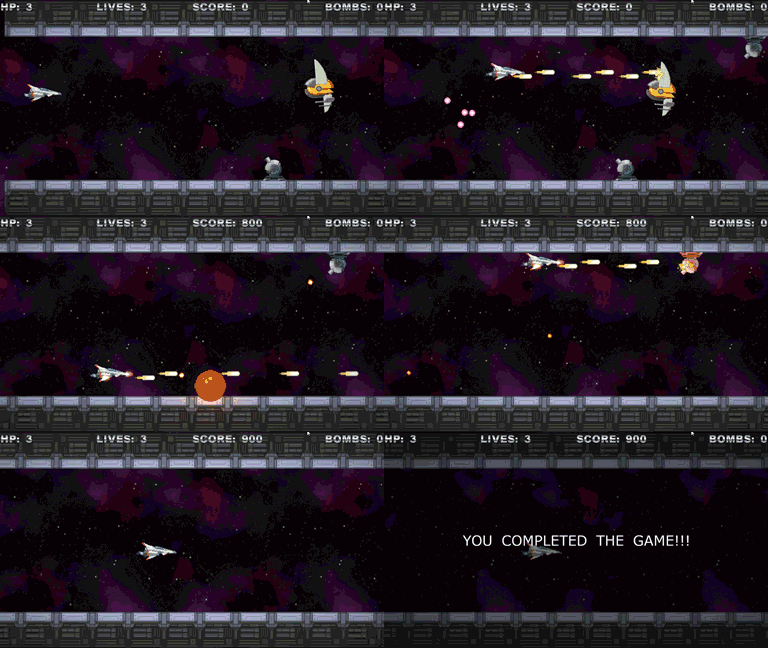
Or you can test your level without the editor: press the Tab key to start the level. Play, shoot the enemy, look at the enemy trajectory. Press Tab again to go back to the editor.
Another cool way to test your level: if a gamepad is plugged to your computer, just press the Start button to play your game, and Start again to go back to the editor.
Was the enemy path ok? You can select the waypoints, move them, delete them until you are happy.
Each time, don’t hesitate to test your level!
END THE GAME
Right now, the level will go forever.
The level needs a condition to know when it is complete.
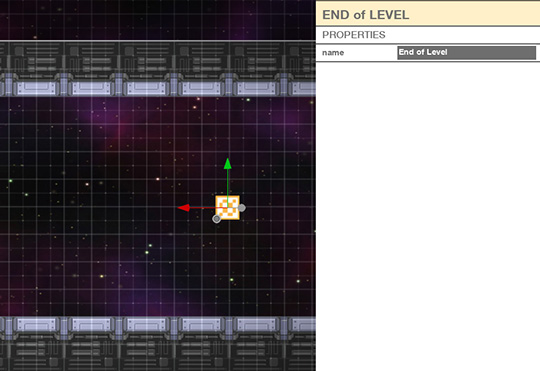
- Open the game box, go to the Gameplay tab, and add an End of level object. By default, it will end the level as soon as the camera sees it.
You can move this trigger where you want the level to finish, on the right of the last enemy (Remember: you can use the Mouse wheel of the bottom Scroll bar to navigate your level)
A more complex End game condition:
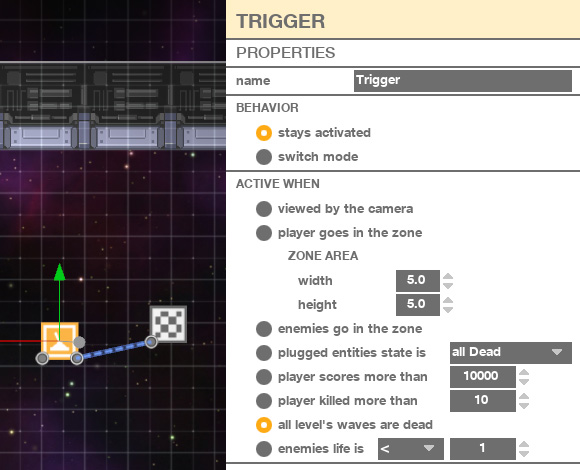
We will use a trigger to end the level automatically when all the level enemies are dead.
If you didn’t do it already, add an End of level object, then add a Trigger near the End of level.
We will connect the Trigger to the End of level object:
- Click on the right plug of this Trigger (the small circle on the right), don’t release the button and drag to create a link, move it until the mouse touches the left plug of the End of level object, then release the button:
Now, the End of level will be triggered by the Trigger. - Click on the trigger to select it, and let’s choose the End of level condition: All level’s waves are dead, and start the game again.
This time, killing all the level enemies will wake-up the trigger, which will in turn wake-up the End of level object.
Don’t forget to save!
BUILD YOUR GAME
When your game is ready, you can build it and create a stand-alone game. You can then distribute it to your friend, or even sell it!
- Click on the
 Game editor button to open the Game editor.
 - On the right of the game editor toolbar, click on the
 Build the stand-alone game button. The level will be saved, then the game will be built.
 - To open the folder where your stand-alone game is, click on the
 Reveal in Explorer button.
In this directory double-click on the game .exe to launch it! - To play directly your game , click on the
 Play the stand-alone game button.
